If you require a fixed IP address you may need to consult your IT support provider. To be able to set a fixed IP address into your Notion Lite Cloud Receiver you will need to download the Base Utility program this can be downloaded from the link below:
www.supportftp.hanwell.com/Utilities/NotionLiteBaseConfig.zip
PLEASE NOTE: Before attempting to install the Base Utility Program you will need administrator rights on your PC.
Download & Installation
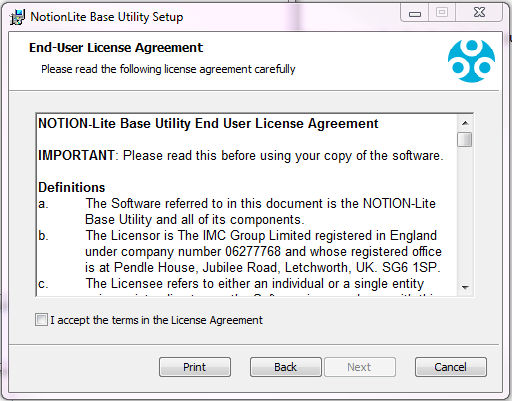
1.Follow the link or click the button above and Run the setup.exe that is downloaded and follow the instructions to install the software.
2.Wait for the setup to download the required files, note that this process may take some time if it needs to install the .Net framework.

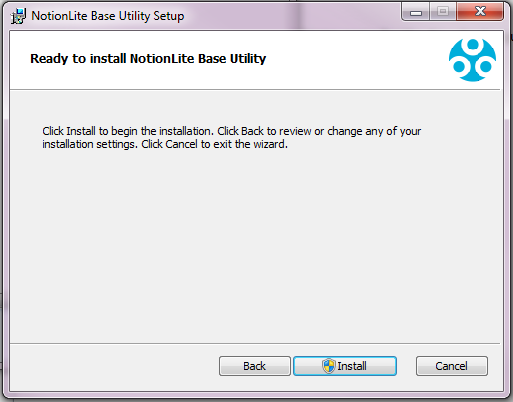
3.Follow the instructions below to complete the installation.

Using the Base Utility Program
Starting the Application
Once the application has been installed it can be started from ‘Start Menu’ > ‘All Programs’ > ‘NotionLite’ > ‘NotionLiteBaseUtil’.
Searching For Devices
IMPORTANT: Notion Lite bases can only be found by this application if they are attached to the same Physical subnet as the PC running the application.
1.Once the application is running ensure that your NOTION Lite base is attached to the network on the same subnet as your PC and click the search button in the top left of the screen.

2.When a device is found it will appear in the devices list below and IP information is listed for your reference purposes.
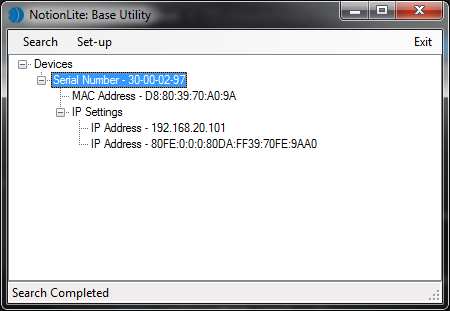
| Note: | Not all versions of the NOTION Lite Cloud Receiver support this functionality, if your device does is not supported it will not appear in the devices list. |
Configuring Devices
1.Select the device you need to configure from the devices tree (generally there will only be one device in the list) and then click the set-up button at the top of the window to configure the selected Cloud Receiver.
2.Change the configuration as required. Note that unchecking the ‘Use Static IP Address’ box will result in the device reverting to using DHCP as is default. Please be careful when applying a static IP address and ensure that you make a note of the IP address you have set.

3.Once you are happy with the changes you have made click the ‘Apply Settings’ button to update the device.